This meal is one of my favorites - it will impress your guests to no end, and takes almost no effort (I just finished writing the post - 'no effort' is a lie, but 'less effort than you think' might be true...). Before you start thinking "it looks like mini-Thanksgiving!" let me reassure you, chicken is much easier to cook than a Thanksgiving bird - namely because of the size. It doesn't take nearly as long to prep or bake and is much less cumbersome.

So - let's get started! Before we do, let me explain one thing about this Year of Cooking - I think one reason a lot of people don't like to cook is not because they don't like to eat, not because it takes too much time, and not because they can't find or follow a recipe. I think people don't like to cook largely because it takes them so much time, and always creates such a mess. I hate that about cooking, too! Subsequently, throughout this series, I'll give tips for quicker, neater cooking - being a good cook is not just about the dish you produce, it's also about the way you run your kitchen. A well run kitchen makes cooking enjoyable! Immensely!
Tip for quick cooking - get all of your ingredients gathered before you start cooking. More importantly, and yes seriously, more importantly - start with a clean kitchen. Mess on top of mess adds to stress, accidents, and slow-downs when that perfect spoon is still dirty from yesterday. And, if you feel so inclined, try to clean as you go - dirty dishes straight in the sink, ingredients put away as they are used, etc - it makes the clean up easier, and your cooking process less cluttered. At least - that's what I've found.
A couple pre-cooking tips specific for this recipe:
* take the chicken out of the fridge a couple hours before you're ready to put it in the oven, (no more than 2hrs before - poultry diseases are nothing to mess around with). An hour or two will help the meat come to room temperature, which will make it more pleasant to work with, and reduce cooking time.
* chop the potatoes, carrots, onions, and garlic anytime within 12 hours before you're ready to cook. If it's going to be more than 30 min before you actually put the dish together, submerge the chopped veggies in water (if more than an hour, put them in the fridge). They'll stay fresh, and chopping ahead of time will dramatically reduce your work later (aka - make this recipe attainable for those of you who work or have toddlers) - as it's really the most time consuming bit of the prep.
*Prep your area prior to working with the chicken. Raw chicken is no child's toy, so make sure you have out all of the aforementioned gear and ingredients before you start cutting.

 |
| note - size of veggies at approx 1 inch |
Roast Chicken with Root Veggies
1 med size chicken, whole including giblets (the innards - yuck!)
3
large potatoes (any kind is fine, I used Russet because they're cheaper
- red, yellow, or yukon would also be perfect. Fingerling potatoes
would be A+ for presentation, taste great, and minimize your cook time)
4 med size carrots (again, baby carrots would be fine, and no chopping required)
1/2 large onion
4-6 cloves fresh garlic
salt (approx 3Tbs)
olive oil (approx 4Tbs)
rosemary (optional)
Gear needed
* Stove-top/Oven-proof pan with lid - If you don't have one, a skillet and a 9x13 baking dish will work just fine. But if you have a stainless steel stock pot, or a Dutch oven - now is your time!
* Knife
* Plate/small bowl for giblets/excess chicken (to save for making stock later)
* Large plate for prepping chicken
Preheat the oven to 400F.
Instructions:
Remove the chicken from it's packaging. Remove the giblets and any large excess portions of fat from the chicken, set aside. Note - depending on what kind of chicken you buy, the giblets may be nicely pre-packaged in a separate little bag, or alternatively, may be inside the chest cavity of the chicken. If this is the case, remove the giblets by reaching inside the back-end of the chicken. If your chicken has any residual feathers or dirt (which it shouldn't, but occasionally happens) just rinse the whole thing off under the tap for a minute - not to worry!


Set the chicken on a large plate and begin pulling the skin back from the meat - gently. The goal is to create space between the skin and the meat but do not remove the skin from the chicken completely.
You don't need the skin sagging away from the meat, just open enough to
slide in some garlic gloves, salt, and if you have it on hand -
rosemary.
Make sure you separate the skin from the meat on both sides of the chicken, and around the wings and legs as much as possible. Once the skin is separated, but not removed, slide some sliced garlic, salt, and any other herbs of your choice under the skin. You don't want to stuff the area between the skin and the meat - just put some little bits of flavor inside.


Why are we doing this? Well, because it's delicious. The skin helps hold in the natural moisture of the meat (dried out chicken is terrible), and adds a nice little bit of extra flavor because of the amount of fat in the skin. The garlic, salt, and other herbs of your choice will help infuse the meat with a nice flavor - but because we didn't put in too much, won't overpower it.
Ok - if you made it this far and you're still interested in doing this meal - stop for a minute. Pat yourself on the back, go pour yourself a glass of wine (even if it's only 3pm) - you're an amazing cook. Anyone who's willing to do this, is an amazing cook. Even if you ruin it your first try :)
If you're not willing to do this, and you're still reading - go pour yourself a glass of wine, drink it. Pour yourself another. Now read this again, and try!! You can do it, and if you fail on the skin separating bit, you can still toss the chicken in the oven with the veggies for a couple hours and create an amazing meal!
Alright - back to the recipe.
 |
| So pretty! |
Take some of your chopped root veggies (and any remaining garlic), and put them inside the cavity of the chicken. It doesn't need to be stuffed, but full - these will also help create a wonderful sweet flavor in your chicken. Extra onion inside the chicken is a great idea.
Put 1-2 Tbs of olive oil in the bottom of your stockpot and pre-heat on the stove top. Place the chicken directly in the pot and allow the bottom side to brown for approx 30seconds. Using your hands (as the chicken shouldn't be too hot yet), grab the legs of the chicken and gently pull the chicken up from the pot, turn over, and place back in the pot in order to brown the other side. Again, brown for about 30 seconds.
 |
| Un-browned side |
 |
| After the flip - browned. |
Note 1 - if you are doing this without a stove-top/oven friendly pot, brown the chicken in a skillet, then transfer to your baking dish. Nothing else is different.
Note 2 - if the above step sounds too hard, skip it. Put the olive oil in the bottom of the pot, pour in the veggies, and plop the chicken on top. Drizzle it all with a little bit of extra olive oil, salt, and (if you have it) fresh ground black pepper. Continue with the below directions.
Turn off the heat, using a long wooden spoon (or utensil of your choice) slightly lift the chicken from the pot and put some of the root veggies underneath. Let the chicken rest on top of the root veggies, and pour any remaining veggies over the chicken.

Once your chicken and veggies are all in the stock pot, cover the pot tightly (preferably with a lid, though if you don't have a lid, foil will suffice - be generous)
Place the pot/Dutch oven/baking dish in the oven (towards the middle, if possible) and let cook for approx 2 hours (depending on the size of your bird, it may be closer to 1 1/2 hours).
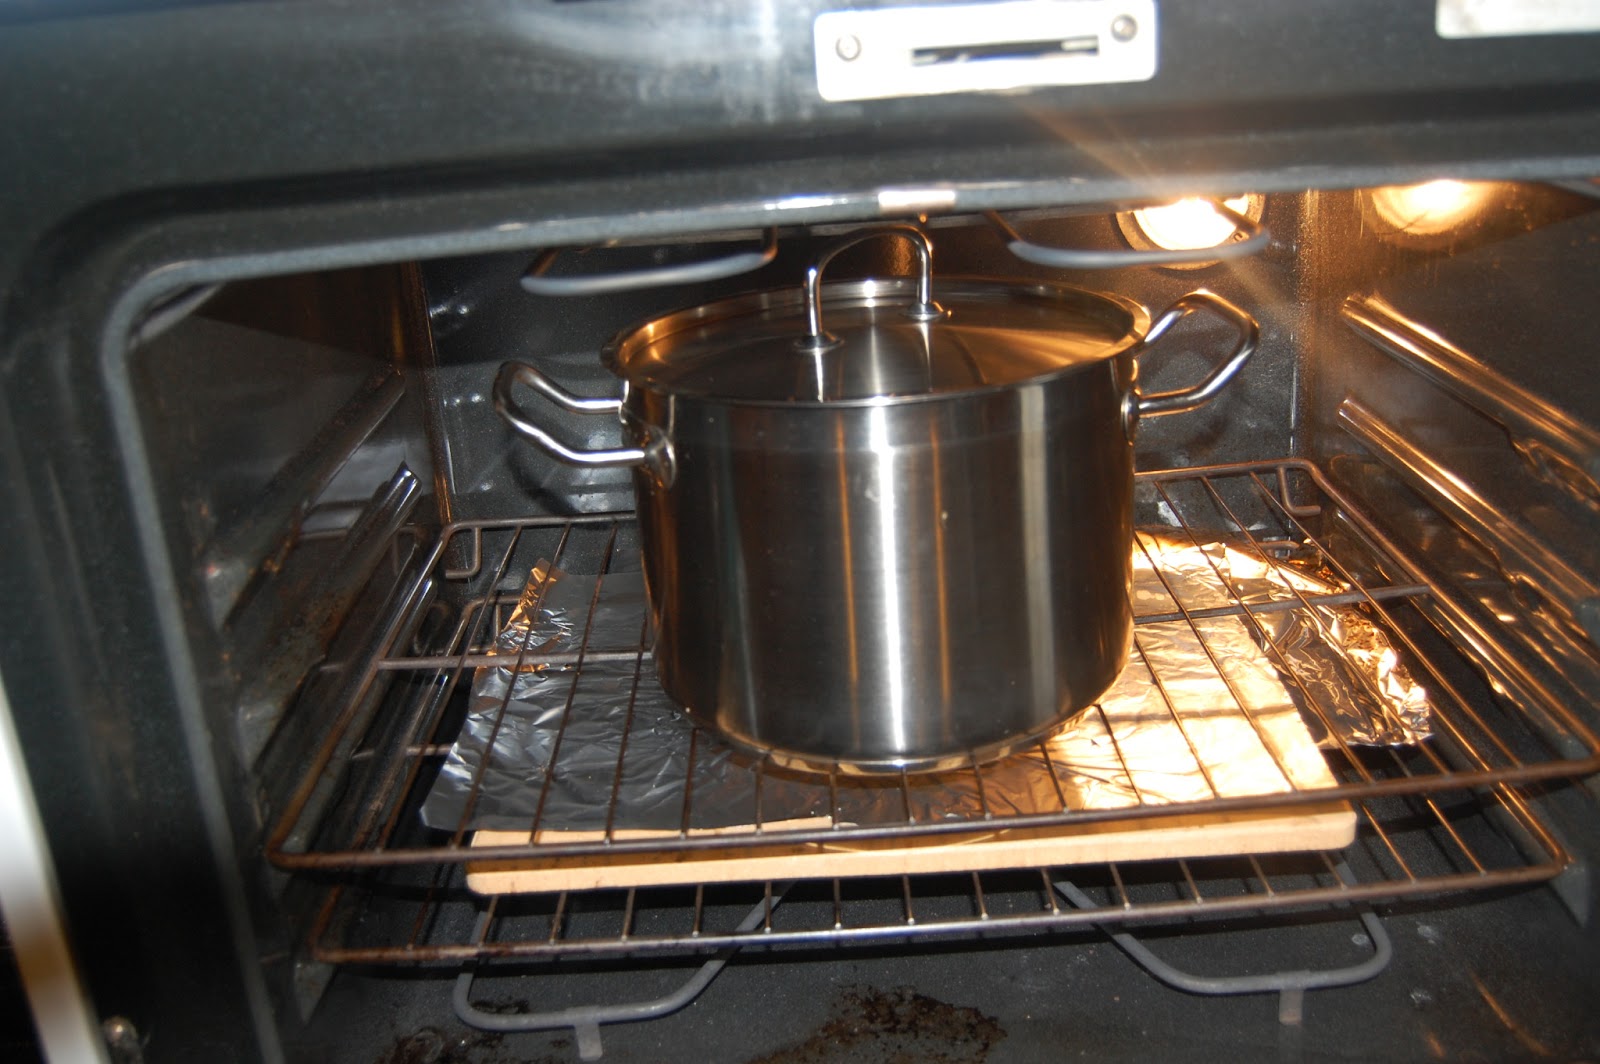
While I waited, we made some of those delicious chocolate chip oatmeal cookies I promised to make this week. Recipe here. Then we ate some. A lot. Yum. Only complaint on this recipe - dough is so stiff!!! Next time, I may melt the butter, or dramatically soften it. (note - I made them again and melted the better. Totally different cookie. Much chewier, much less crunchy. Still delicious.) Also - 1hr 5min time includes all the baking time - which isn't really active prep time, in my opinion...

Anyway - while you're eating cookies...Check the chicken every 30 min or so, being sure there is some liquid in the bottom and nothing is burning. The chicken and veggies (combined with the olive oil) should produce enough liquid on their own. However, if your pot looks really dry on the bottom, add 1/2 c water, recover tightly, and check again in 15 min.
After about an hour - hour and a half, check to see if the chicken is done. You can either use a meat thermometer inserted into the breast (poultry is done at 180F, though some say 160F), or you can just use a paring knife to cut into the breast and check the color of the meat. You want white meat, not pink, but some juices are fine - great, actually.
If your chicken isn't as brown on top as you'd like it to be, uncover it, and cook again for 5-10 min - that should the trick, and not dry out your chicken.
 |
| It's finished!!! |

If you like - garnish with some fresh rosemary and fresh ground pepper.
Enjoy with white wine (if you like white wine - I much prefer red), artisan bread (meaning, not sandwich bread), and side salad. We're having Rosemary Bread (bought at the store) and spinach salad (which I'll do a recipe for later).
Now, even though this is incredibly long - this is important as a last note.
Please, please read the upcoming entry on Chicken Stock before you clean up from this meal. You can absolutely use every single bit of that chicken you bought, and fairly effortlessly. If you've made it this far, you owe it to yourself (and that chicken) to do a little bit more work and make the most delicious chicken stock you've ever made.
When we do Roast Red Pepper and Tomato Risotto with Spicy Sausage next week, you'll be glad you did. The Chicken Stock made from this chicken absolutely makes it.
Alright - happy eating and impressing!
Ps - if you wanted a smaller version of this, or an individually plate-able dinner, try this same recipe but with cornish game hens. I've never done it, but the results would be fabulous. Definitely use fingerling potatoes, baby carrots, and pearl onions if you do.


